
Tech/maintenance Holton C Melody Restoration

PigSquealer

Connoisseur of applesauce
Messages
5,839
Location
Los Angeles🇺🇸
Level
Awful
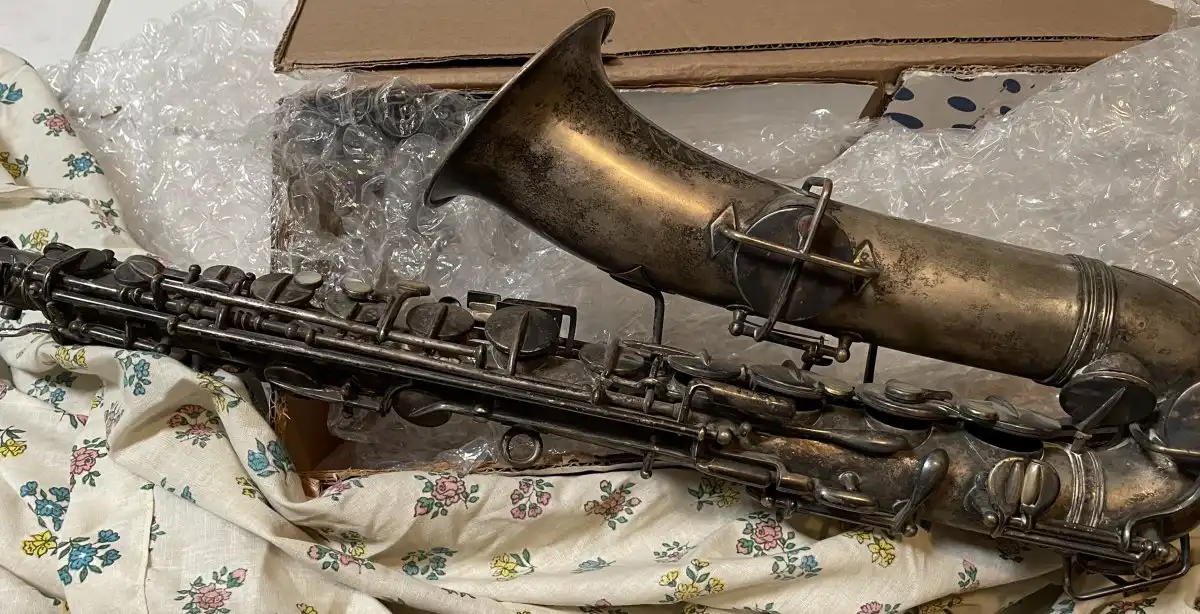
This Frank Holton C melody is SN# 128xx. Dating it to first half of 1923. For its 100 year anniversary party some attention is needed.
1696151048208.webp


Holton C Melody


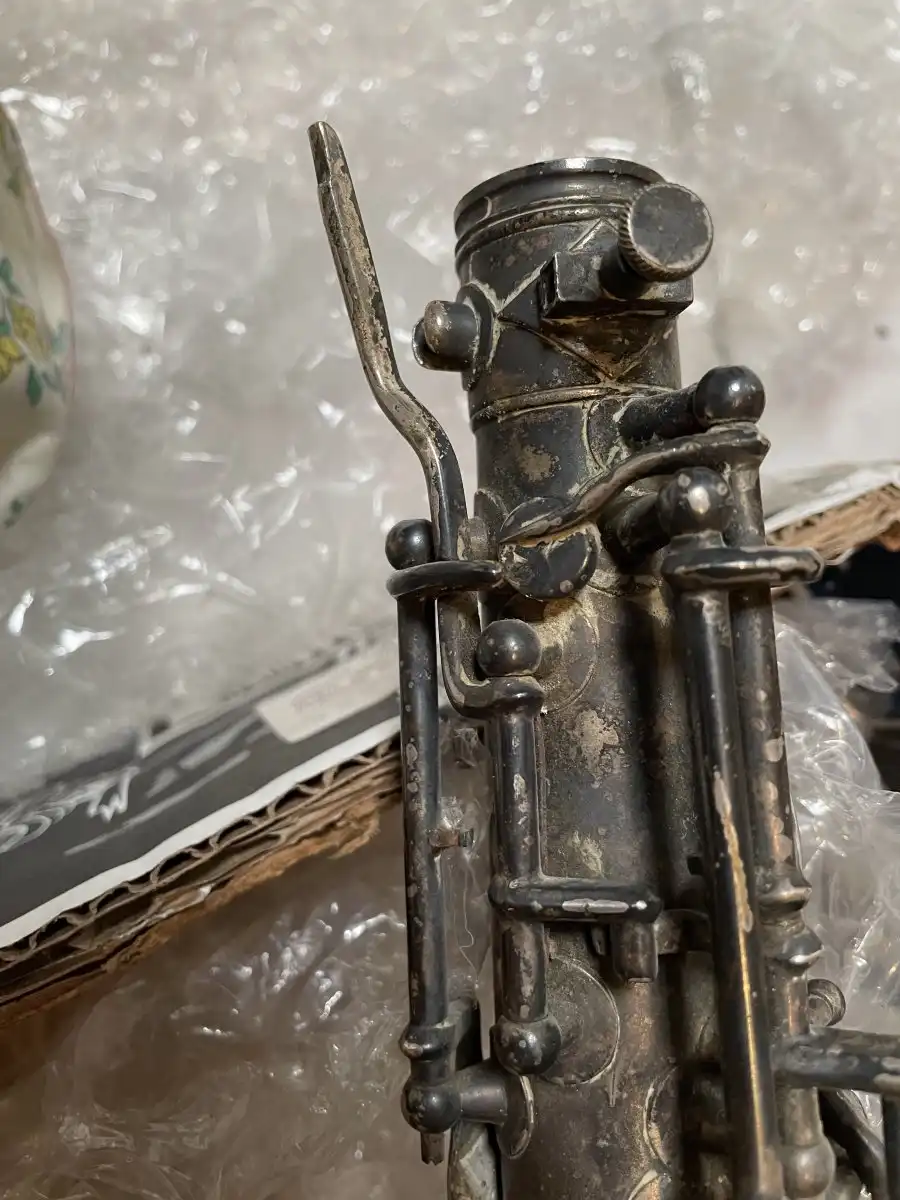
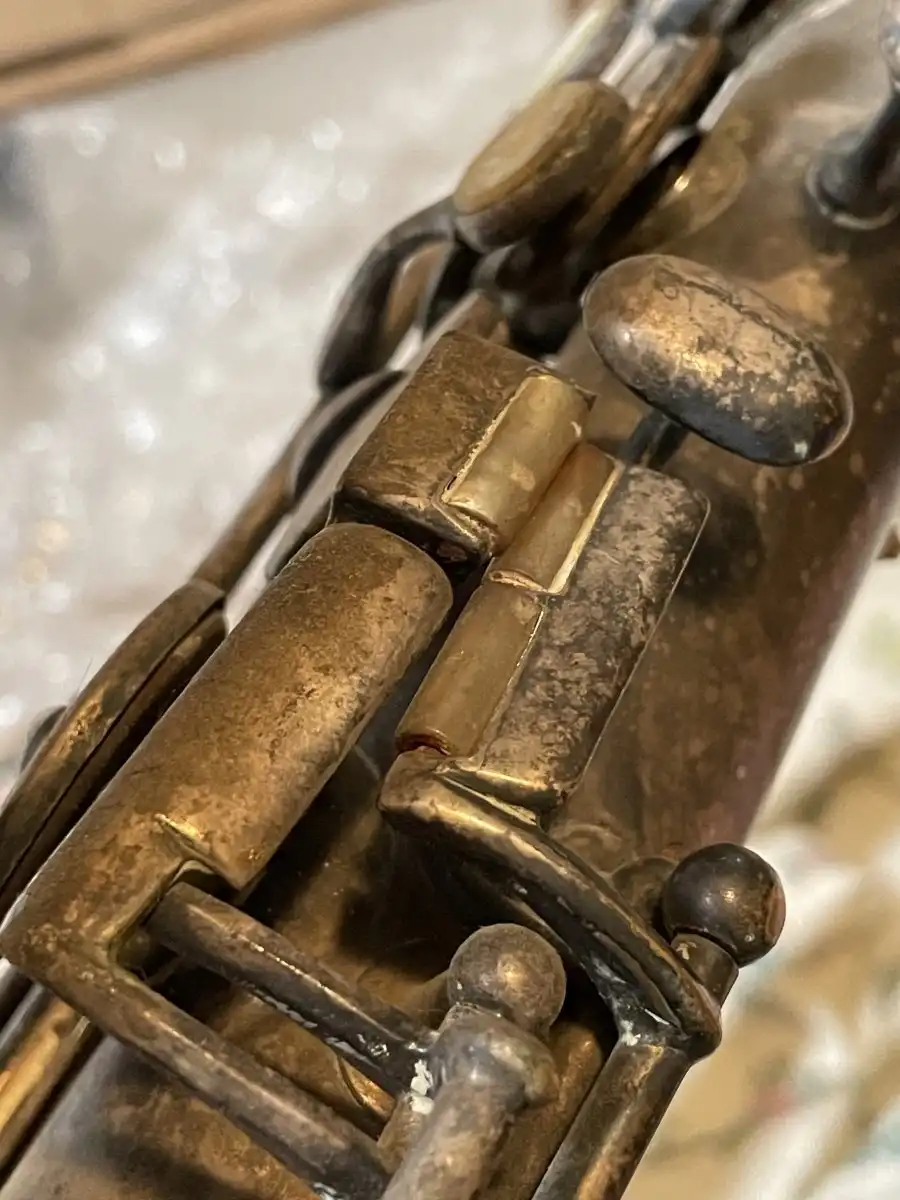
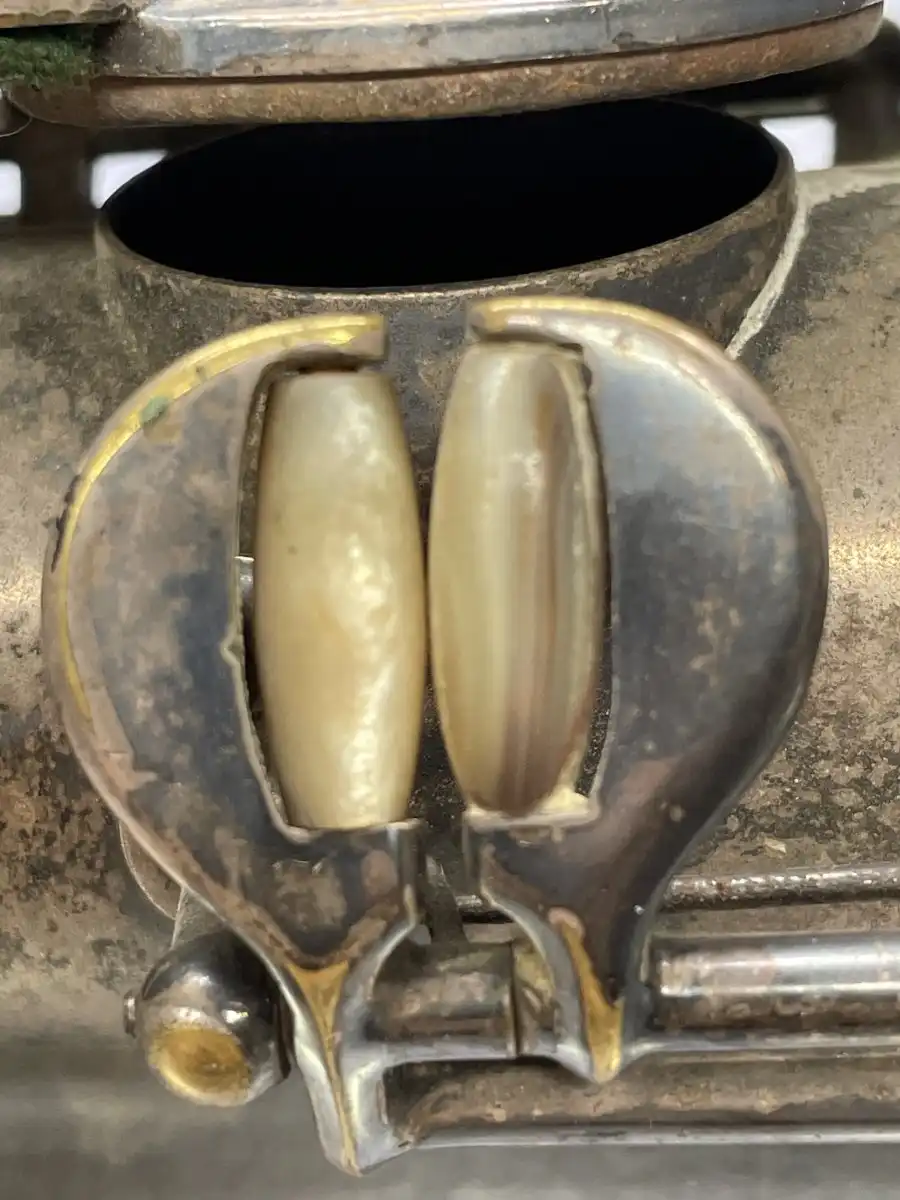
As received it’s not all bad.
1696148825639.jpeg


Rollers look great !
1696148973293.jpeg

1696149056931.jpeg

Only a few springs missing.
1696149318269.png


A few less dents than this one I did.
Thread 'Martin C Melody Resurrection Restoration'
Martin C Melody Resurrection Restoration
 
Last edited by a moderator:
The neck only has 17mm to 1” pulldown with nice even creases on both sides. Luckily the joint fit is good. Well better than most.
1696149652184.jpeg


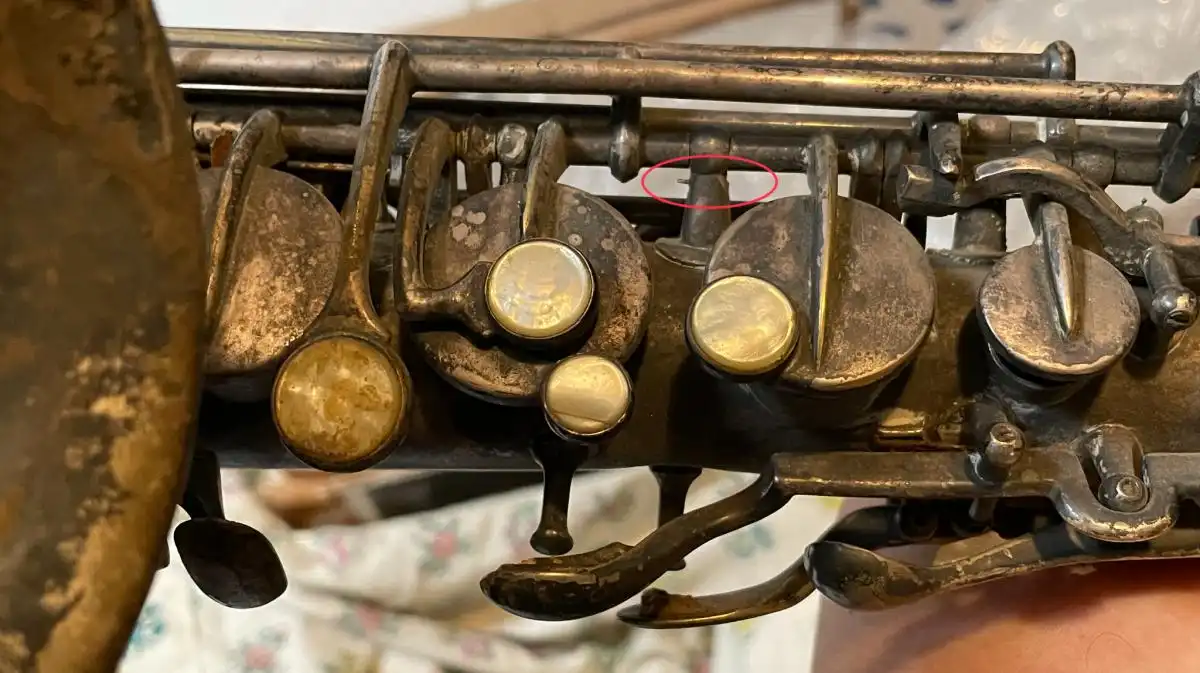
Play test proved this C# pad is leaking some. The key cup also makes a awful metallic clank. (Note to self, add felt @ wire guard)
1696149979446.jpeg


If this was a scratch and sniff picture you wouldn’t scratch twice.
1696150510983.jpeg


Notes & pictures taken it’s time get working.
1696150912540.jpeg
 
Last edited:
Like the Martin Resurrection thread posted above, there will be similar processes. I won’t be going into great detail on repetitious repair details. It’s worthwhile reading that thread first for reference.

Disassembly went quick. A week prior to attacking this I had soaked all the hardware with PB blaster. A good rust busting penetrant is your friend. Although I do have one severely stuck hinge rod to address.
1696206757185.webp
1696202564862.jpeg

Going to be a lot of work getting 70 years worth of gunk off this hardware. According to the owner this was a Christmas gift from his father to his mother. Sometime in the late 1940s early 50s. Briefly used and put into storage. No case !
1696202663756.jpeg

Flat springs have seen better days.
1696203069022.jpeg

This pad has some very special venting material.
1696206950293.webp
 
Last edited:
Grrr….my favorite event is removing stuck parts. Anyone care to make a suggestion? The key moves. I’m guesing it’s stuck in each post. Heat & PB penetrant did nothing. I don’t have any tips for my moto tool that small to grind in a new slot
1696203341870.jpeg

That brown goo on body to the left. That was a rubber band. Rubber bands contain sulfur and often leave a permanent burn stain on silver.
1696205717495.webp
 
Last edited:
Moving on while I think about removing the stuck part. it’s sill soaking too.

Removing the flat springs was uneventful. Swinging the spring anti-clockwise while turning screw simultaneously they all came right out.
1696207954321.jpeg

I did take a moment to measure all the springs. Notice a couple have no length. I was able to extract a small bit out of the post and at least get the diameter. Determining the length will be done with the key part in place. Yeah George I keep notes.
1696208371690.jpeg

1696616577482.webp

I also have a couple of patterns to work from. Plan B. Contact a friend and ask the question.
1696208600367.jpeg
 
Last edited:
I’ve removed the stuck hinge rod. I have friends in my car arena that often call upon me for such issues. “You’re luckest at this”

I‘ve drilled the thing out:optimistic:

Starting with a .030 LH drillbit as a pilot. Then stepped up to .047. Finally to .064- 1/16. Sometimes with a reverse drillbit they will extract themselves. No luck this time on the drillbit alone.
Guessing rod size .085 or larger. My smallest screw extractor did not fit. I tried binding a fine tip screwdriver inside with no luck. All this from the slot side making sure the depth did not go into the key tube much.
1696312811593.jpeg
 
Last edited:
On the opposite side (thread side) I used the same technique. Although I used RH (clockwise) twist bits.
In theory if the drill bit grabs it will drive the piece out.
I had some luck :clapping:.

On the third size it grabbed and pushed the piece through. Very risky business and not recommended. I had to loosen the drill chuck as the bit stuck partway through.
1696314009201.jpeg


With some gentle persuasion ( light tapping with small hammer)I was able to extract everything.
1696314092220.jpeg


On the slot side, I can see I was dangerously close to the post. I can also see the gouging marks where I tried to use the screwdriver to grab it.
1696314296573.jpeg

On the threaded side I was dead center. The scrap on the workbench is a bit of the threads fallen off.
1696314425097.jpeg
 
Last edited:
Stinky pads are all out. Average thickness is .185 /4.7mm. Most all have a heavy impression. To thick. I’ll be installing .160 / 4mm. This will take some key adjustments. In part this judgment involves observing the key height openings. Most were 3-4mm. My target is more like 5-6mm
I’m sure it played quite stuffy.
1696368276010.jpeg


Off to first cleaning in Dawn dish soap. This step is to remove dirt and grime.
1696368849877.png

Remove all the cork materials. I ran a pipe cleaner soaked in naptha through each tube. First phase of removing old dried oil and grease.
1696369031162.jpeg
 
Last edited:
May I be the first one to claim that 'it's not worth it!' ?

I have a very similar Holton C in the pile of winter projects.
It's doesn't have as sexy a mouthpiece cork, but I'm sure I can
fab something up.
Sometimes the worth of a project is in the doing of it.

t
cheap, compared to therapy.
 
Soaking the body in Dawn dish soap and lightly brushing. Lots of crud came off. Look at all the old caked on polish that’s missing now.
1696612666666.webp


A second wash in a proprietary silver solution. Gets me right where I want to be. Polishing stage. These two cleaning steps took about six hours. Lots of soaking and brushing..
1696612837029.webp

All the keywork and hardware was pursued simultaneously. It wasn’t just time spent on the body.
1696613172001.webp


Working with Hagerty silversmith polish. Do small sections and don’t let it dry. I rinse with cold water then buff. The body is going to need a twice over. This was first go on the bell.
1696613269684.webp

After second go.
1696613433659.webp


I’m working sections. Light pressure, soft brushes and Circular motion. Heavy pressure and lineal motion will leave scratches all over everywhere. Overall this Horn already has signs that it was cleaned with a scouring pad. I’m not disappointed. It will look so much better than before.
1696613898433.webp
 
While polishing the key work I did flatten and round cups. Breaks up some of the monotony of polishing.
1696615398843.jpeg

Work the part where the hinge tube and keycup are parallel.
1696615455442.jpeg

Straightening out the keyword took place also. Be forewarned. Don’t straighten anything unless you are sure it needs to be straightened. Some parts appearing to be bent / damaged are actually intentional adjustments. Something to pay attention to in your pre-disassembly notes/pictures.
1696615880162.jpeg
 
Last edited:
May I be the first one to claim that 'it's not worth it!' ?

I have a very similar Holton C in the pile of winter projects.
It's doesn't have as sexy a mouthpiece cork, but I'm sure I can
fab something up.
Sometimes the worth of a project is in the doing of it.

t
cheap, compared to therapy.
Yeah you’re the first to say this publicly:rofl:

Winter is coming. Choose the worthy alto and send me the C mel. I’ll rid you of your dilemma. You may need additional therapy after finishing a C melody.
 

Similar threads... or are they? Maybe not but they could be worth reading anyway 😀

Social

New! Social Feeds

Look out for the navigation icon:

Follow CafeSaxophone

Latest Song of the Month

Trending

Forum statistics

Topics
32,051
Messages
577,992
Members
8,120
Latest member
lundalux
Back
Top Bottom