Chris J
Well-Known Member
- Messages
- 256
- Location
- Southampton, UK
Total credit to @Stephen Howard as this is entirely his method. I just wanted to see how easy it really was to make a decent bright light. The answer is - very.
He describes this on his website here Making and using a leaklight
The background is that I overhauled a 1920s alto, a pretty little gold plated thing, about 6 months ago. All pad cups needed levelling, as did all tone holes. Corks, felts and the occasional needles. Stacks of work, with huge satisfaction of playing it when it all came together. Final tweaks could wait.
Fast forward 6 months and nipping in to see Stephen for something, I thought I would do a show and tell and let him have a blow of the alto. So I grabbed it.
How embarrassing. Sure it plays, but he threw his leak light down the tube and had a right good chuckle.
Usually setting pads by feeler gauge alone, I was guilty of convincing myself that as it seals all around, it was fine. What the leak light showed was that too much pressure was needed to seal the pad on the tone hole - contact was not simultaneous. This affects the feel, tone and general playability of the thing.
I need a leak light.
I had read Stephen’s handy hint of a home-made light, and as an electrical novice, I thought I would see how far I got.
Sure I could buy one, but where is the fun in that?
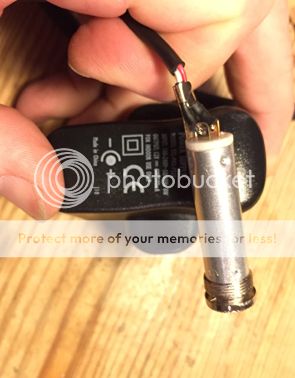
Sorry about the quality of the iPhone photos, but I thought I would do a step by step just to show how easy it is. As Stephen says in his article, though, play with electrics at your own risk! Using 12V however does reduce the risk considerably...
I'll break the thread up as I think there is a limit to the number of pictures shown in one go.


