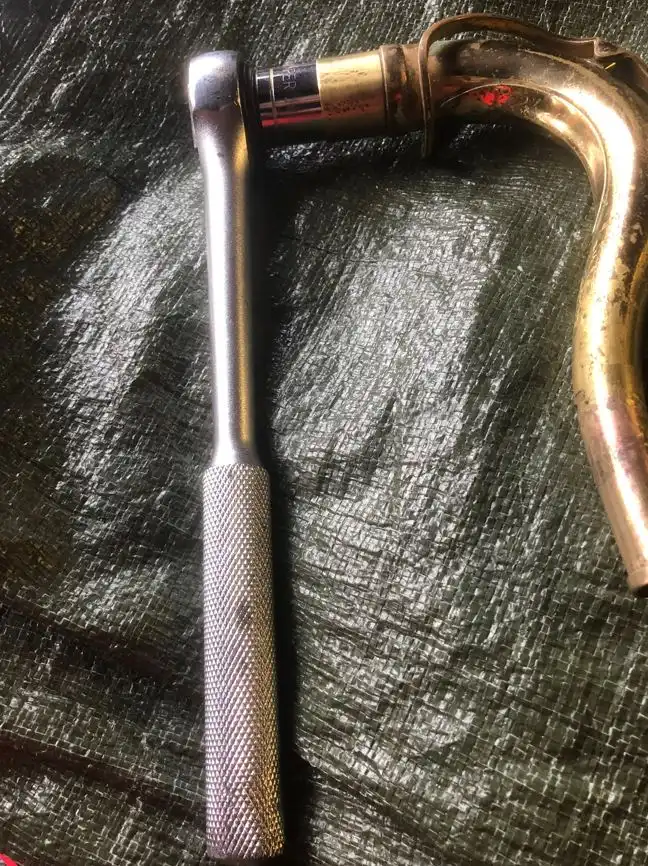
I’ll have to admit many years ago I did use the same technique as the OP has. But it was more to round the tenon than to expand it. Anyone attempting this technique it is very important that the inside of the tube is extremely clean. Oil or smear of grease is good Insurance for preventing a stuck assembly.
As a DIY fit with this technique it’s very important to have measuring tools. Measure the inside of the receiver. Measure the outside of the tenon. Measure crossways in three different locations, and then top, middle and bottom of each side. @ 0,1 mm / .004 you will have a leak. The neck/crook should slide in and out with ease when the fit is absolutely correct. No binding. Maybe a little rotation while inserting but it should not be forced.
Check your starting point fit. The T shaped tool is a inside caliper. Measuring the inside of the receiver. One side is spring loaded. Inserted into the receiver to the measurement point. Locked down and then extracted.
The measurement is then taken with a caliper.
Next measure the tenon. The difference in the measurement is how loose the fit is.
Rotate the part to measure it again at the same location. But at a cross / right angle. This will show if it is out of round.
Checking fit with a colored sharpie is a helpful guide as Steve mentions above. My initial pre-repair I coat the part heavily.
Obtaining fit on this one I used a can opener style expander. There are different type expanders. There are also shrinking tools to round/shrink the part for a exact fit. The cost of these tools far exceed the DIY tech. This is why it’s best to take it to a tech if possible. A knackered repair cost double for a tech to fix. Consider this post information of what you get in value having your tech do the repair.
Final check before I do a leak test. Before and after picture. Notice the bands in three locations. This is also where I take the measurements.




 acebook
 (bottom of page)